Listen & Craft: Jamie’s Embroidered Reminder

Like a lot of people, I have several boxes and drawers stuffed with half-finished craft projects, supplies for a hobby I was obsessed with for a couple months ten years ago, and aspirational materials for the hobby I plan to someday sit down and try my hand at.
But embroidery is the hobby that stuck (fingers crossed!). While others were making sourdough in spring 2020, I ordered an embroidery kit. And then another. And another. And then I started designing my own patterns. With my hands busy, I listened to audio drama after audiobook after podcast and so whiled away lockdown.
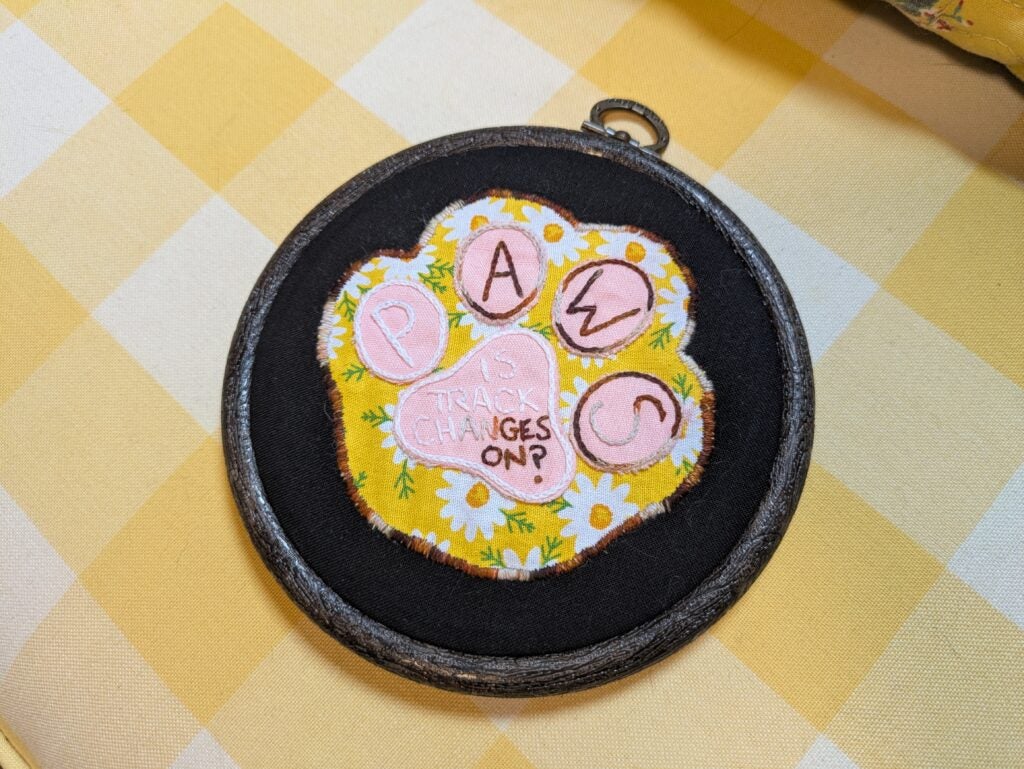
These days, I always have a project or three going, and the wall behind my desk is filling up with embroidery hoops. One of these is a reminder to save my files, and today I’m sharing the process for its more complicated companion piece: an exhortation to pause . . . and make sure I’ve turned Track Changes on. Of course, if you aren’t a copy editor or you’re much less forgetful than I am, feel free to substitute your own helpful reminder!
Materials:
- 5” hoop
- Needle
- Frixion pen
- Scissors
- Embroidery floss
- Fabric (sized to fit the hoop):
- for toe beans
- for paw outline
- for background
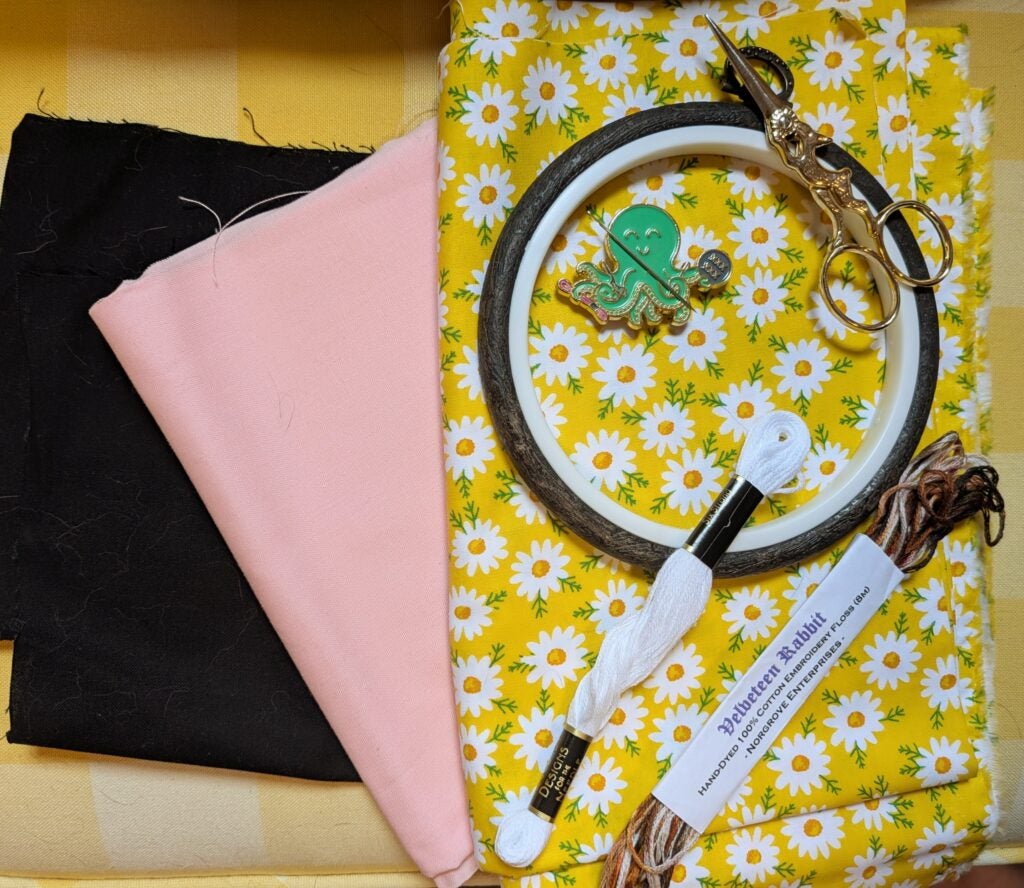
Note: I’ve got a calico cat named Daisy, so I went with a printed daisy pattern for the paw outline, pink for the toe beans (double layered so the fabric beneath didn’t show through), and a black background for contrast, and I used white and a single skein of variegated embroidery floss with varying stripes of white, orange, brown, and black to keep on my calico theme. Feel free to use whatever color combinations you like!
Instructions
Step 1: Using a Frixion pen, draw a paw shape on the paw outline fabric and on your bean/paw pad fabric, four toe beans and a paw pad to fit. Write one letter of PAWS on each toe bean (pun not optional, sorry!) and your reminder on the pad (for me: “Is Track Changes On?”).
** Note: Frixion pen ink disappears when exposed to heat, so if any of the pen marks are visible at the end (or you make a mistake while drawing!), you can turn a blow dryer on the fabric and the ink will go away. Magic!
Step 2: Place your toe bean fabric in the hoop and stitch the text (I used chain stitch for PAWS and a mix of back stitch and straight stitch for the reminder). Cut out the beans and paw pad and set aside.
Step 3: Place your paw outline fabric in the hoop. Stitch each bean and the paw pad in place (I used split stitch for the outlines). Cut out the paw outline.
Step 4: Place your background fabric in the hoop. Stitch the paw to the background (I used a line of satin stitch to cover up the edges—the daisy fabric was very prone to fraying, so this kept it together).
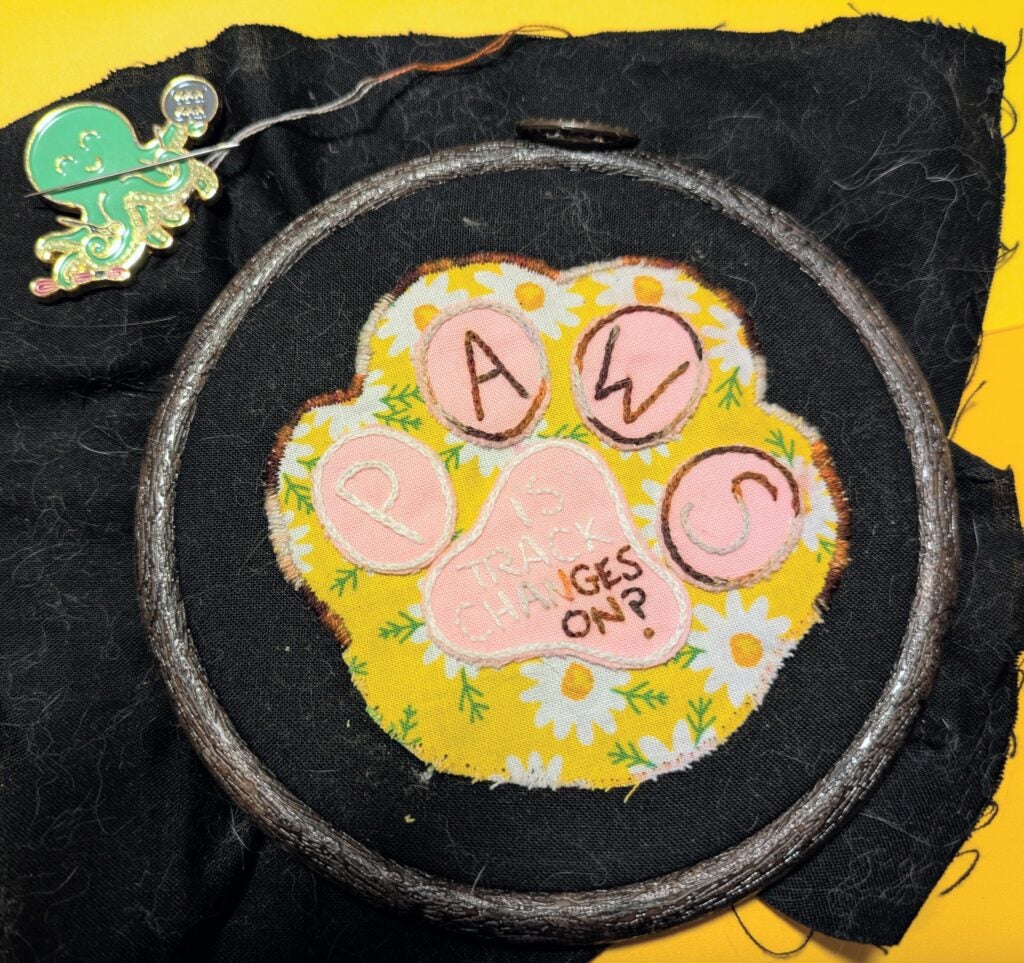
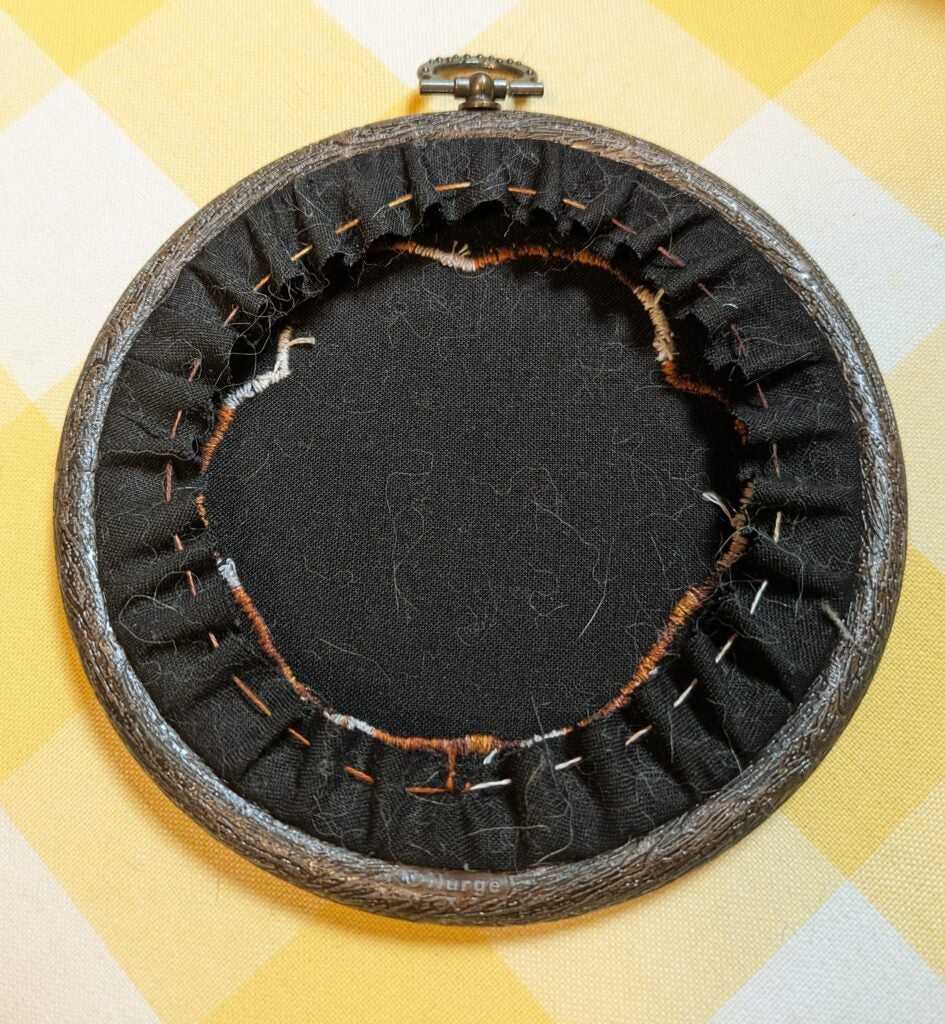
Step 5: Flip the hoop and trim the excess background fabric to about 1 inch all around. Stitch a running stitch all around the outer edge of the fabric, and when you’ve completed the circle, draw the thread tight to cinch the edges together. Maintaining tension, knot the thread.
While I was working on this, I went on a humorous meta-fantasy kick. The Somewhat Wicked Witch of Brigandale by C. M. Waggoner and This Princess Kills Monsters by Ry Herman kept me giggle-snorting the whole time I worked on my silly pun project. So cue up a fun audiobook, grab your supplies, and get stitching al fresco in the beautiful spring sunshine!