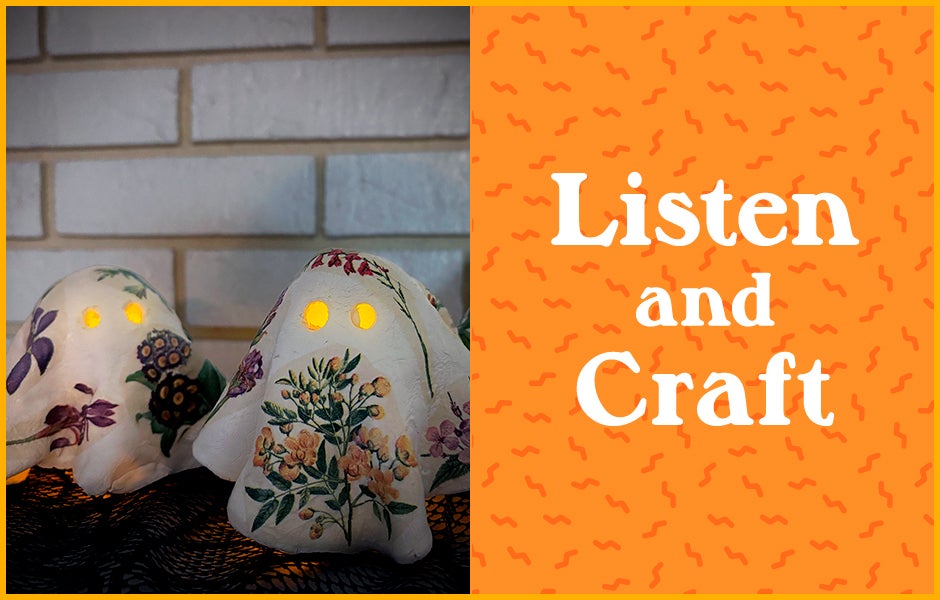
I am one of those people who starts pulling out Halloween décor in September. It’s partially because spooky season and Halloween are synonymous with fall (the best of all seasons), and partially because it feels like a holiday season without any of the pressures of the holiday season. Plus, I can now re-watch all my cozy favorites like Practical Magic, The Corpse Bride, and Hocus Pocus.
In in effort to be more budget conscious, I decided to DIY new décor this year. Shout out to the insane amount of craft content on social media for this incredibly cute –and fairly easy—air-dry clay floral ghost craft.
Since this is a multi-day craft (pesky drying time!), it was also the perfect excuse to listen to Displeasure Island, a wonderfully cozy mystery that’s also a ghost story. It’s the second audiobook featuring main character Claire, who is a medium. It’s a delightful crafting companion for anyone who enjoys spooky season without big jump scares and horror.
Materials needed:
- Aluminum foil
- Rolling Pin
- Scissors
- Small glass jars or glasses
- Straw
- Mod Podge and small paint brush
- Air-dry clay
- Floral paper napkins
- Electric tea lights (not actual flammable ones)
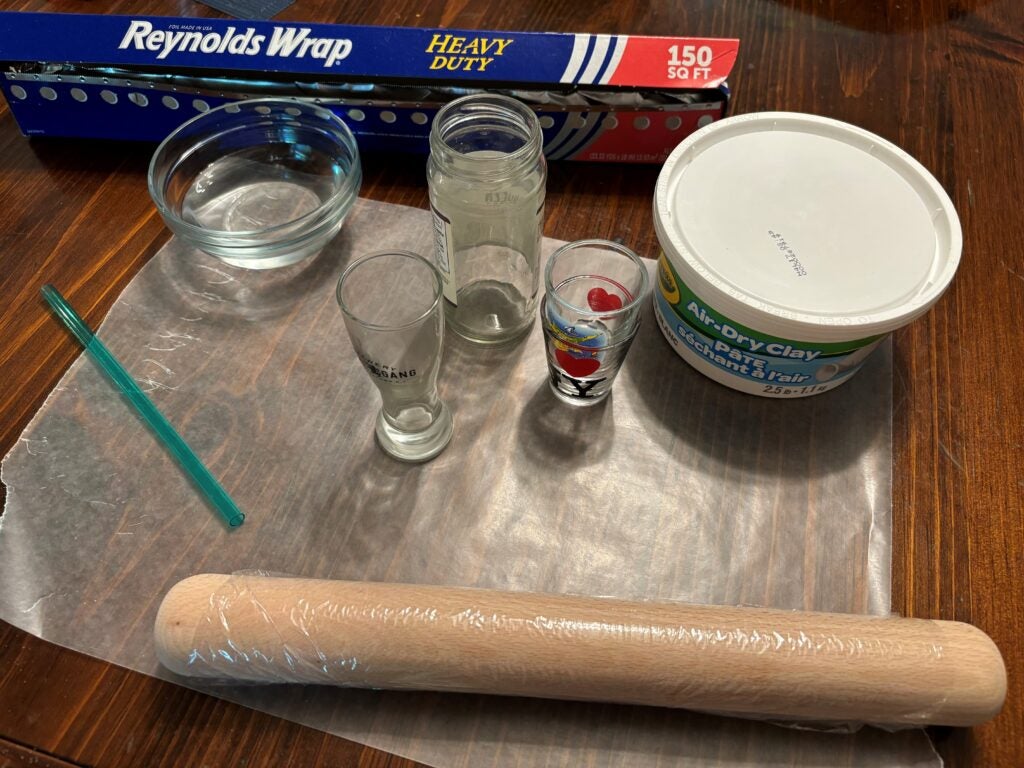
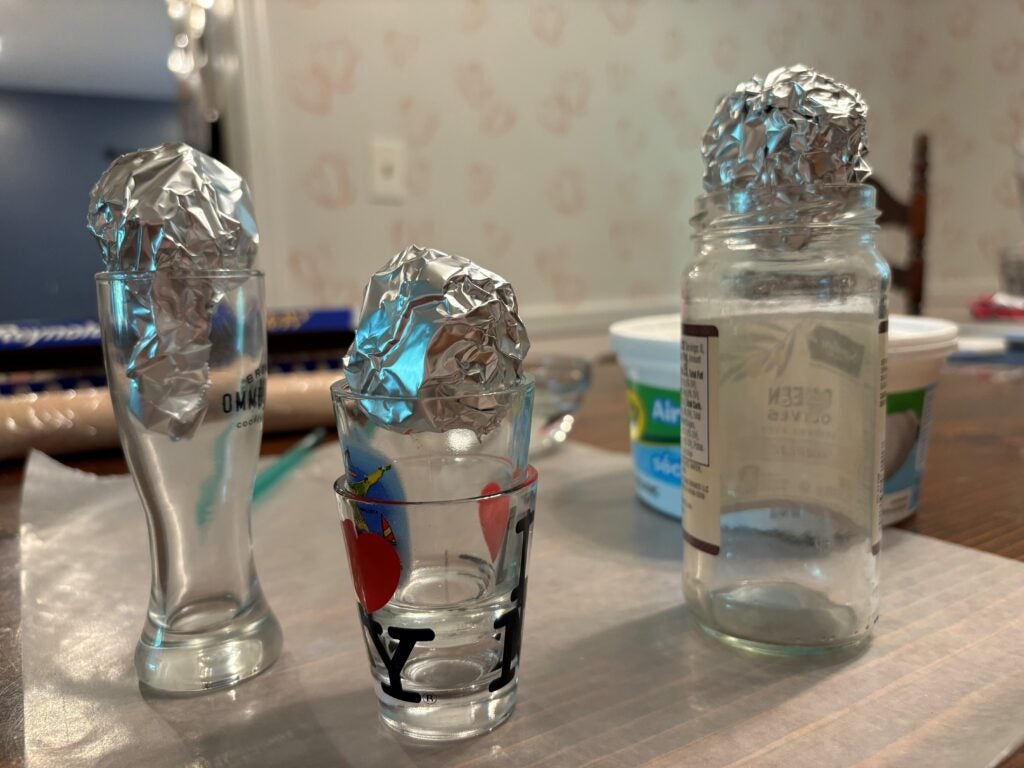
- After gathering all the materials you need to create your little ghosties, the first step is to roll some aluminum foil into balls that fit on top of the glass jars you’ve selected.
2. Then, grab some air clay and roll it out into a circle. Tip: don’t roll it super thin since the clay will drag down via gravity and potentially separate/crack (I definitely had to re-do one of mine because of this). This will definitely happen the taller you make your ghost.
3. Drape the circle (gently!) over the top of one of the glass and aluminum foil figures. Tip: Don’t press the clay down on the foil – if you do, the clay will dry onto the foil and you won’t be able to get the aluminum foil out.
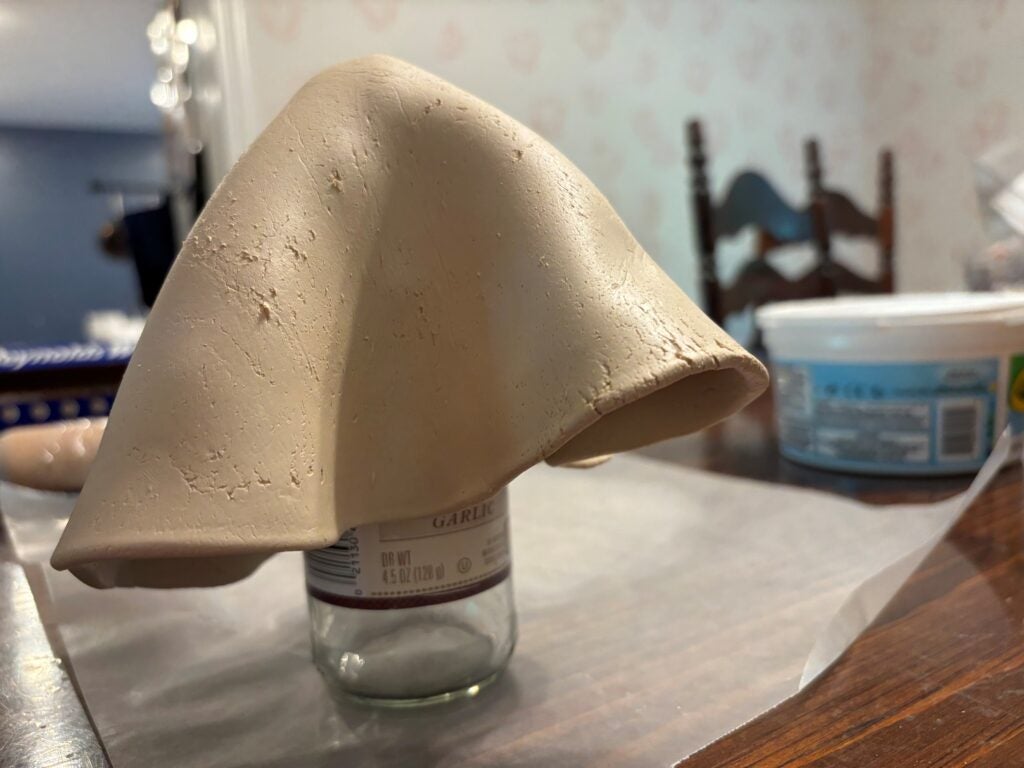
4. Using a straw, create eye holes. If you’d like, you can also create a mouth. Tip: do the outline on the clay as it’s draped over the glass, but take the clay off and cut the actual eyes out as the clay is flat on the table then re-drape over the glass. I did not do this, and it made me press the clay into the foil so the foil was harder to get out later.
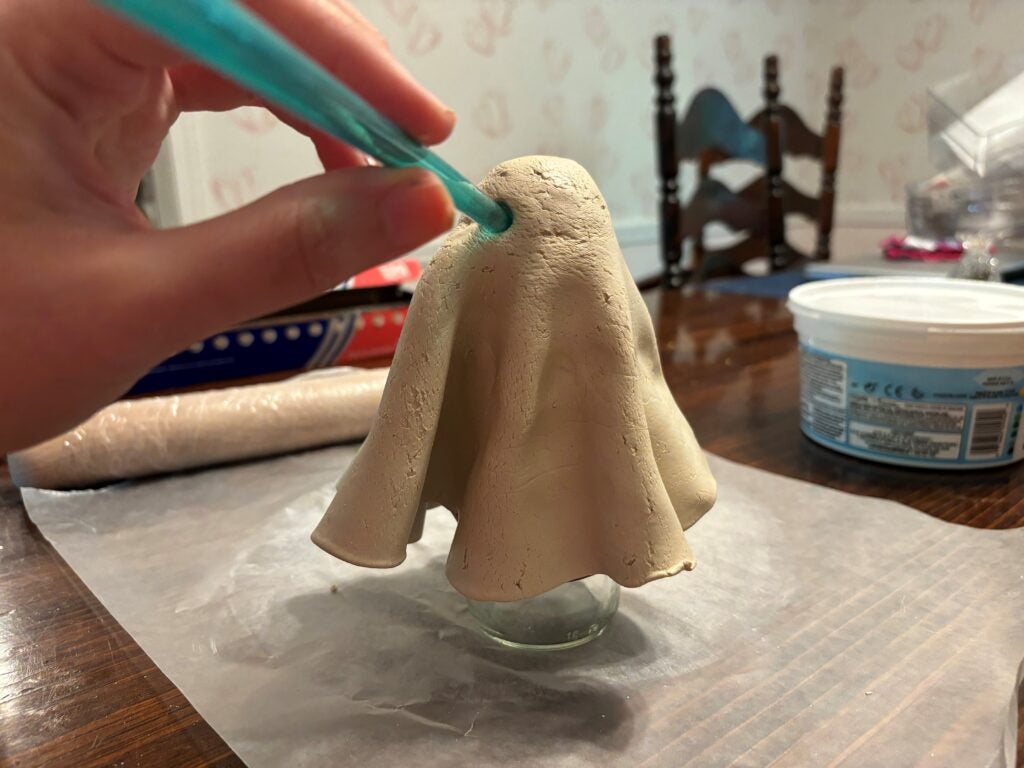
5. Shape the sides of the clay to finish off the ghost shape. Repeat for each figure you want to make.
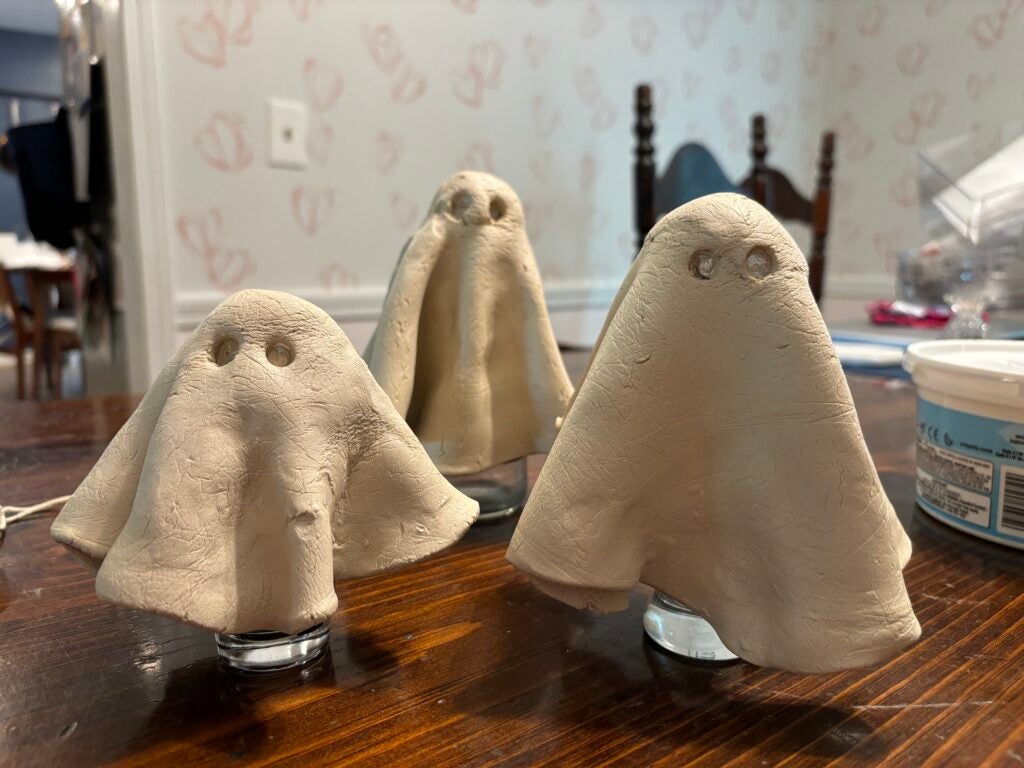
6. Wait 1-2 days for the clay to fully dry and listen to your audiobook!
7. Once they’re all dry, gently take the figures off the aluminum foil and glass jars. Pull out the aluminum foil ball.
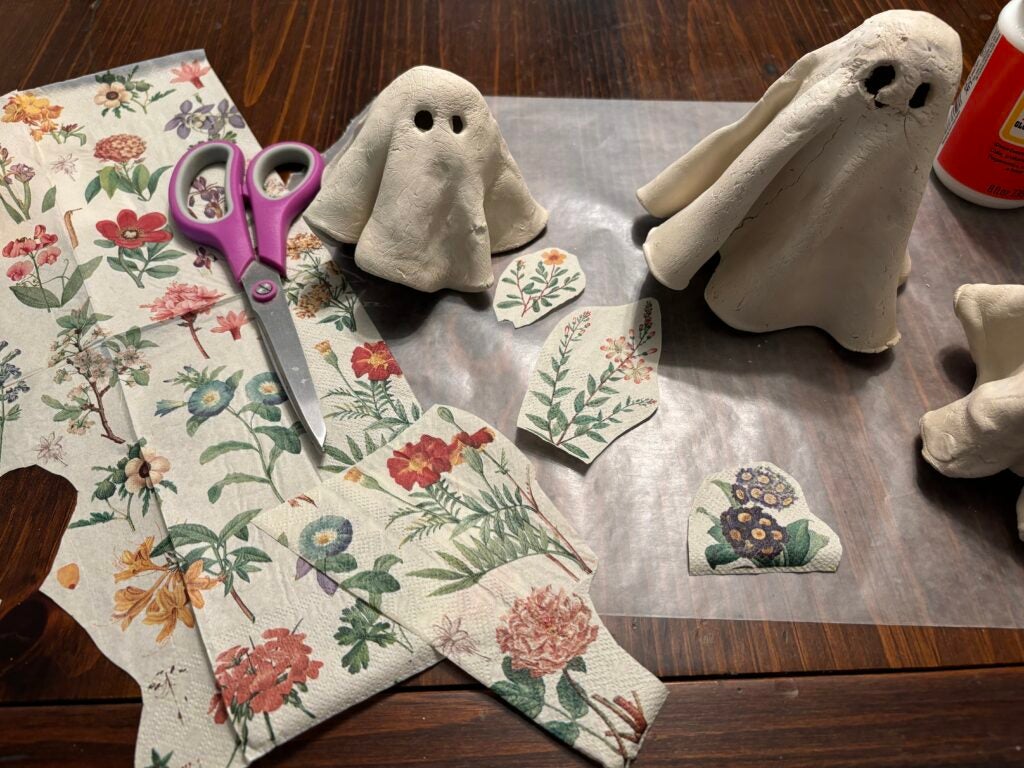
8. Then, cut out the flowers you’d like to use from the napkins, and peel the second layer of napkin off. You want only 1-ply images for this.
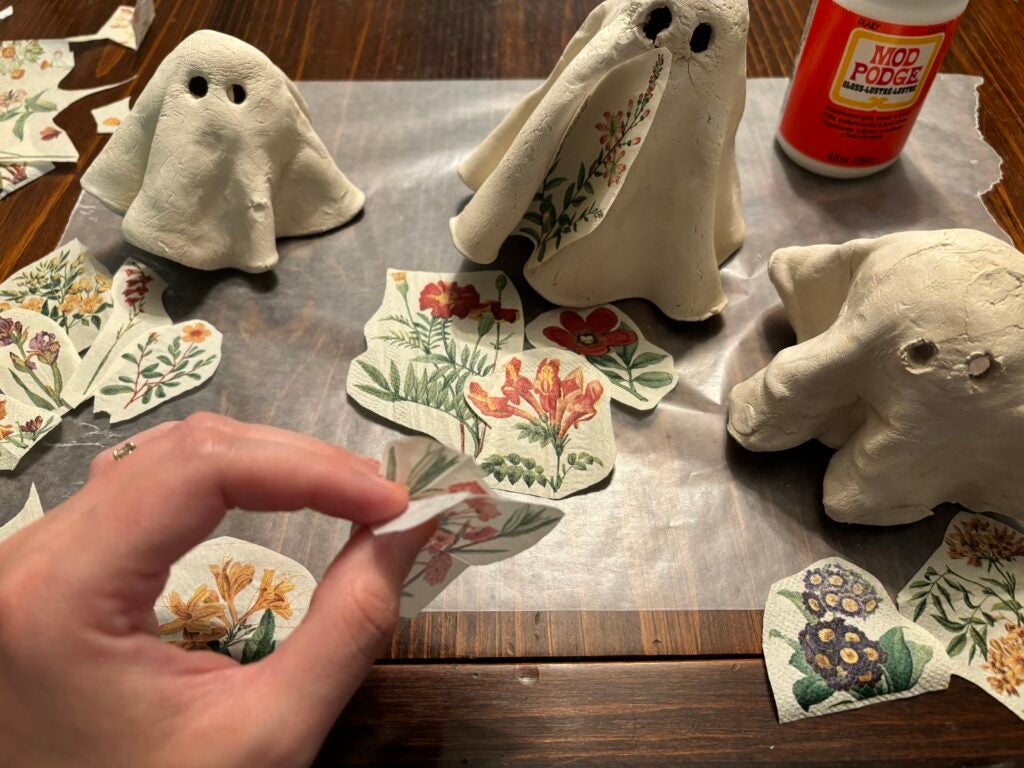
9. Brush some mod podge onto the ghost and place your florals on it. Once you finish placing your images on all 3 figures, go back and brush mod podge over the entire figure just to really seal it in.
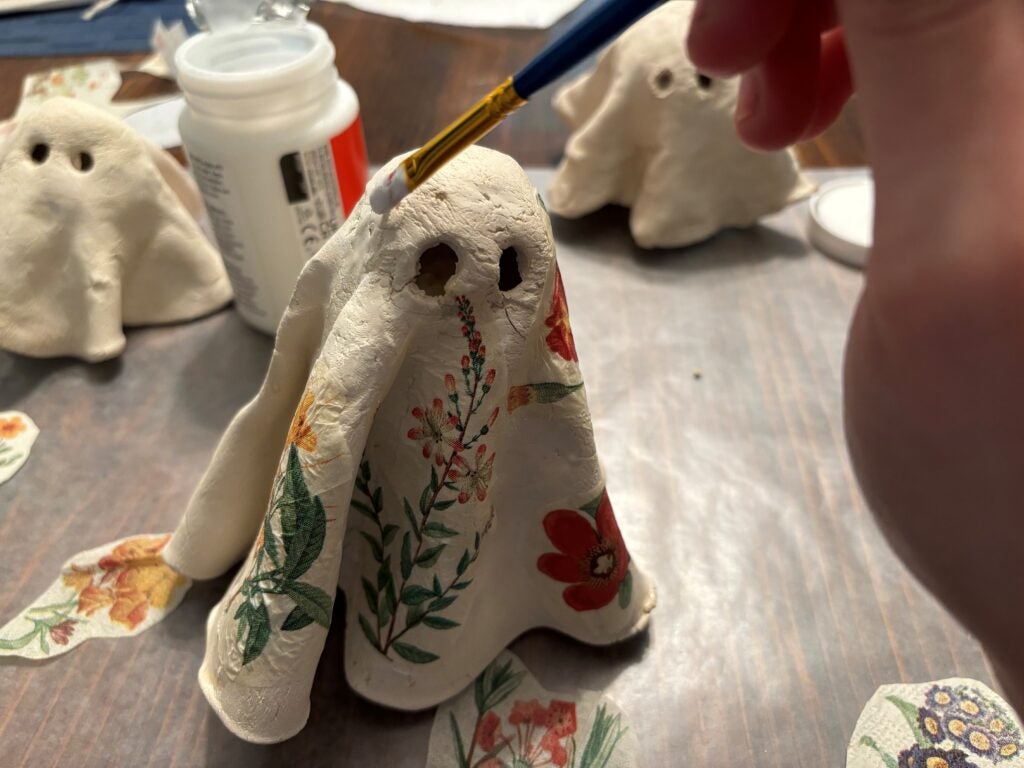
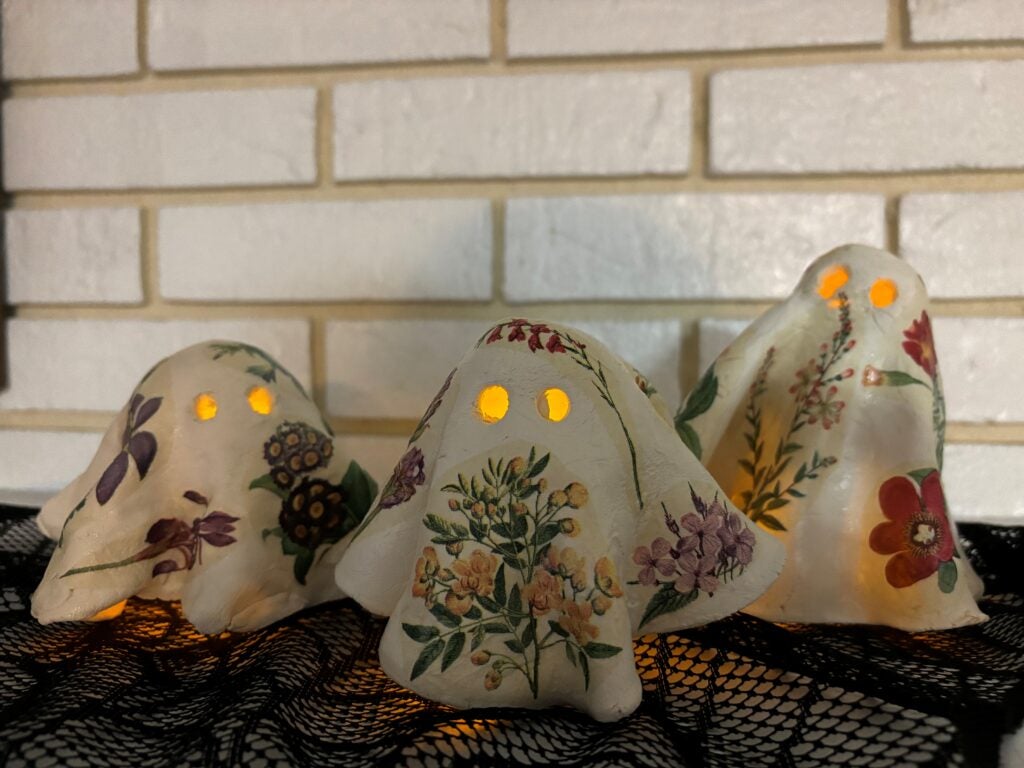
10. After they’re dry, put them on top of some tea lights and admire your handiwork!
In addition to Displeasure Island, here a few other fright free spooky season listening recommendations that pair well with this craft…because once your friends see how cute these turn out, you may be making them as Halloween treats!
